
Recently, I was asked to flash a custom ROM to several Android devices that Samsung seems to forget to update. These devices include:
1. Galaxy Tab 10.1 (GT-P7500) – Upgraded from Android 3.2 Honeycomb to 4.2 Jelly Bean
2. Galaxy Tab 8.9 (GT-P7300) – Upgraded from Android 3.2 Honeycomb to 4.2 Jelly Bean
3. Galaxy Mini (GT-S5570) – Upgraded from Android 2.3 Froyo to 4.1 Jelly Bean
I was delighted seeing these old devices run with the Jelly Bean OS.
Please note that I actually have no plans of posting how to root and upgrade certain devices here in our blog. (But if many of you insists, I may change my mind haha!)
This is because there are already a lots of resources on other sites, especially in the XDA-Developers forum.
In my experience, rooting and flashing a custom ROM to your device may take a lot of trial and error. One blog post may not work for you, so you have to look on other blog post or forums and maybe combine their instructions or installation files for your device to work.
So, this tutorial will just cover some ADB commands that I learned and can be useful when doing such tasks. This list can be your reference too!
This ADB basic commands and setup tutorial post covers following:
1.0 What is ADB?
2.0 Where can I get ADB?
3.0 How to run the ADB?
3.1 Open Command Prompt
3.2 Find adb.exe
4.0 ADB Basic Commands
4.1 adb
4.2 adb devices
4.2.1 adb kill-server
4.2.2 adb start-server
4.3 adb shell
4.3.1 ls
4.3.2 exit
4.3.3 cd
4.3.4 rm
4.3.5 cp
4.4 adb push
4.5 adb pull
4.6 adb install
4.7 adb reboot
4.8 adb reboot recovery
4.9 adb logcat
1.0 What is ADB?
First off, for those who have no idea what ADB is, ADB stands for Android Debug Bridge. Basically, it is a command line interface that lets you communicate from PC to your Android device or emulator.
On windows, it is an .exe file where you can execute some commands (see section 4.0 below) with the help of command prompt (cmd.exe).
2.0 Where can I get ADB?
I used the ADB from the Android ADT Bundle we installed, yes it is with the Android developmenet environment files. I actually wrote a post regarding its installation. You can find it in the path: YourADT_Folder > sdk > platform-tools > adb.exe
3.0 How To Run The ADB?
Easy, just follow the steps below:
3.1. Open your command prompt.
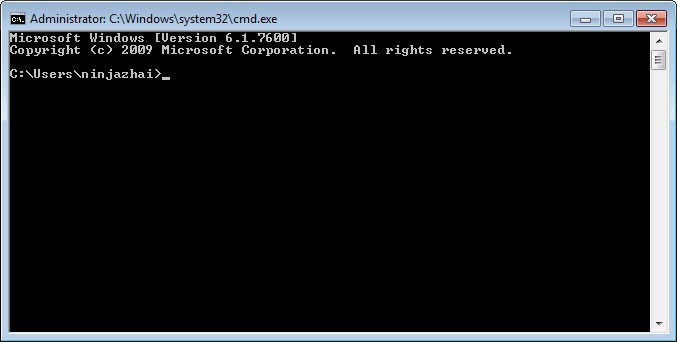
On windows, you can type on the search box “cmd.exe” and then press enter. It will pop up a really cool black window.
3.2 Find your adb.exe
Go to your ADT folder > sdk > platform-tools
Copy the path, go back to the black window, right click then paste it there. After pasting, press enter. See screenshots below:


4.0 ADB Basic Commands
4.1 Make sure ADB is working by typing the “adb” command (see the yellow underline below). The output will look like this:

4.2 Know what Android devices were attached on your computer by typing the “adb devices” command.

4.2.1 If it can’t connect to your device, first, you have to do an adb kill-server command
4.2.2 And then, do an adb start-server command, and re-execute adb devices
4.3 Begin a shell connection with your Android device by typing the “adb shell” command. More about shell here.

4.3.1 Know what files and directories are in your Android device by typing the “ls” command

4.3.2 If you think you’re done with the shell connection, you can exit it by typing the “exit” command, and now you’re out of the shell mode.

4.3.3 Change directories by using the “cd” command. Sample use:
cd /sdcard/my_folder
4.3.4 If you want to remove a file from your device, here’s the “rm” command. Sample use:
rm /sdcard/my_folder/my_text_file.txt
4.3.5 copy file from one directory to another with the “cp” command. Sample use:
cp /sdcard/my_old_folder/my_text_file.txt /sdcard/my_new_folder/my_text_file.txt
4.4 Copy file from PC to android device using the “adb push”


4.5 Get file from Android device to your PC by using the “adb pull” command. Sample use:
adb pull /sdcard/my_file.zip c:\my_file.zip
4.6 If you have an APK installer file in your PC, you can also install it using the ADB via “adb install” command. Sample use:
adb install c:\your_app.apk
4.7 – adb reboot command will simply reboot your Android device.
4.8 – adb reboot recovery will reboot your device in recovery mode.
4.8 – adb logcat is useful when you’re making an app and debugging. Eclipse also provide this functionality.
If you think I missed something important that should be on this list, please feel free to leave a comment below, I’m more than willing to udpate this post. Hope this ADB basic commands list help you get started!